How to Blend Text on fabric in Photoshop
In this tutorial, we are going to see how I blend text on fabric in Photoshop. I tried to make this tutorial short and easy for beginners. After watching this tutorial you will be able to blend text on fabric easily. We don’t need any effects to do this, we are going to create this effect from the scratch. You can type your text on any fabric, the method is the same. This is 100% editable. If you are watching my video, I recommend you to watch it till the end.
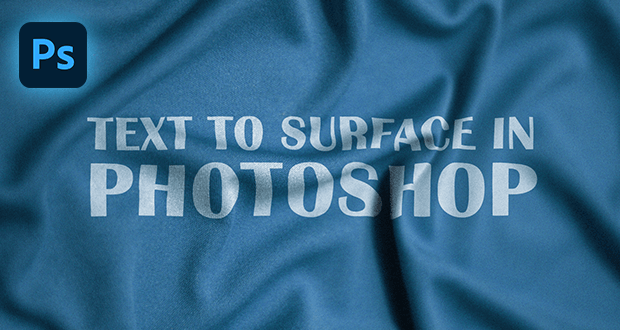
Here’s the effect we’re going to create.
Let’s get started!
Step 1: Open Adobe Photoshop, then import the fabric image which I have downloaded from Unsplash .com
Step 2: Create a new document. Rename it to the Fabric. Set the resolution to 1920×1080 Pixels, 300dpi.
Step 3: Copy the fabric image, and paste it into a new document. Press Control T to open the transform options, then adjust the image scale to fit the screen.
Step 4: Select the image layer, go to the effects and choose Hue/Saturation. Then change the hue to -157, and saturation to -17.
Step 5: Go to the File Menu, and choose Save As in jpeg format.
Step 6: Go to the Filter Menu, then Blur, and choose Gaussian Blur. Set the blur radius value to 5.0 pixels.
Step 7: Select the image layer, go to effects and choose black and white effect. Then go to File menu, and save the image as Displacement.PSD.
Step 8: Open the Blue fabric.jpeg image. Go to the layers panel and create a new layer. Convert it to the smart object and then rename it to the TEXT or LOGO. Double-click the Text layer to open the new layer. Select the type tool and add your text. Increase the font size, then align your text to the center.
Step 9: Select the text layer, Go to the Filter menu, Distort, and choose Displace. Set the horizontal and vertical displace value to 10. After clicking the Ok button you will need to open Displacement.PSD file which we created earlier.
Step 10: Keep the text layer selected, and go to the blending options. Move the underlying layer slider to change the value to 202.
We are done! Our Blend text on fabric in photoshop is ready, and I hope this is a helpful tutorial for beginners.
Subscribe to the RizatGraphics YouTube channel for more interesting Motion Graphics and Graphic Design tutorials.
Here you can download the 100% free .PSD file