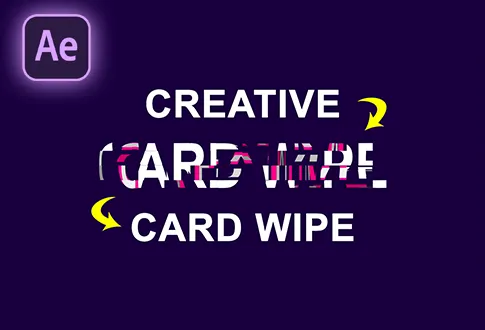
Create a Colorful Glitch Animation in After Effects
It’s free and I will continue to give out free downloads!
Create a colorful glitch animation in After Effects. In this tutorial, I will show you a step-by-step guide on how to create a dynamic and visually striking glitch effect using Adobe After Effects. This tutorial typically covers how to create glitches in different colors and shapes, how to animate those glitches, and how to combine them with other effects such as distortion, blurs, and color grading. The result is a unique and eye-catching effect that can be used in a variety of projects, such as music videos, promos, and advertisements. The tutorial may also cover tips and tricks for optimizing the workflow, saving time, and achieving the best results. You might also be interested in this tutorial on Energy Glitch Text Animation in After Effects.
Step-by-Step Guide to Creating a Colorful Glitch Animation:
Step 1: Setting Up the Composition
- Launch Adobe After Effects and create a new composition.
- Name it “Colorful Glitch.”
- Set the resolution to 1920×1080 pixels, frame rate to 30 frames per second, and duration to 7 seconds.
Step 2: Adding Fractal Noise Background
- Right-click and choose New > Solid.
- Rename it “Fractal Noise.”
- Go to Effects & Presets and search for “Fractal Noise.”
- Apply the Fractal Noise effect to the solid layer.
- Modify settings: Noise type to “Block,” contrast to 250, complexity to 3.
- Under Transform, uncheck uniform scaling and set the scale width to 5000.
- Hold Alt and click the Evolution stopwatch icon. Enter the expression: “time * 999.”
- Keyframe the brightness: Start with -200, change to 0 at 10 frames, 300 at 1 second, 0 at 1.20 seconds, 300 at 2.10 seconds, and -200 at 5 seconds.
- Right-click keyframes, choose Keyframe Assistant and select Easy Ease.
Step 3: Adding Variation to Fractal Noise
- Turn off the Fractal Noise effect temporarily.
- Reapply the Fractal Noise effect with adjusted settings: Fractal type to “Block,” contrast to 285, complexity to 4.
- Uncheck uniform scaling, set scale width to 125, scale height to 8.
- Use Alt + click on the Evolution stopwatch to add the expression: “time * 999.”
- Change the blending mode to “Screen.”
- Turn on the first effect.
Step 4: Organizing and Adding Text
- Right-click on the solid layer, choose Pre-compose, and name it “Fractal Noise.”
- Select Move All Attributes to the New Composition.
- Use the Type Tool to add your text.
- Center the anchor point and align the text to the center.
- Right-click the text layer, choose Pre-compose, and rename it “Text.”
Step 5: Adding Displacement Effect
- Hide the Fractal Noise layer.
- Right-click and choose New > Adjustment Layer, rename it “Displacement.”
- Apply the Displacement Map effect, set the Map layer to “Fractal Noise,” horizontal and vertical displacement maps to “Luminance,” max horizontal and vertical displacement to 0.
- Add keyframes for max horizontal displacement, and adjust values.
Step 6: Adding Optics Compensation
- Apply the Optics Compensation effect to the Adjustment Layer.
- Set the field of view to 180, and enable Reverse Lens Distortion.
- Add keyframes: start at 0, change to 0 at 1 second.
Step 7: Creating Glitch Effects
- Pre-compose the layers, and name it “Glitch Build.”
- Apply the Shift Channels effect, and set Green and Blue to Full Off.
- Duplicate the layer and change Red to Full Off and the second option to Green.
- Duplicate again, change Green to Full Off, and the third option to Blue.
- Adjust timing and blending modes, and preview results.
Step 8: Adding Floor Reflection (Optional)
- Create a floor reflection using a separate tutorial (optional).
Step 9: Conclusion
- Your Colorful Glitch Animation is complete and fully editable.
- Modify text as needed.
Congratulations! Your Colorful Glitch Animation is ready!
Project File Details:
| Updated | September 16, 2024 |
| Compatibility | After Effects CC |
| Required Plugin | No |
| Size | 2.21 MB |
| Price | Free |


