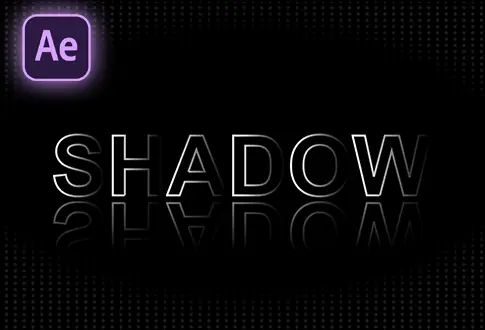
Glossy Shiny Logo Animation in After Effects
It’s free and I will continue to give out free downloads!
Create a simple yet professional Glossy shiny logo animation in After Effects. This tutorial teaches you to create a professional shiny logo animation in Adobe After Effects. If you want to get the same results as mine, then I recommend you to watch my video till the end. Each video on my Channel is made with hard work. Yes, this tutorial is quite long but the results are awesome. This is the best tutorial logo animation tutorial I have created so far. You might also be interested in this template for the Glossy Particles logo Animation in After Effects.
Step-by-Step Guide to Creating a Glossy Shiny Logo Animation:
Step 1: Setting Up the Composition
- Open Adobe After Effects.
- Create a new composition and rename it to “LOGO HERE.”
- Set the resolution to 1920×1080 Pixels, frame rate to 30 frames per second, and duration to 10 seconds.
Step 2: Importing and Adjusting Logo
- Go to the File Menu > Import > Select your logo image.
- Drag and drop the logo onto the composition.
- Press ‘S’ to open scale properties and adjust the logo scale if necessary.
Step 3: Creating Logo Edges
- Create a new composition and rename it to “Logo Edges.”
- Drag and drop the “LOGO HERE” composition into “Logo Edges.”
Step 4: Applying Effects for Glossy Effect
- Go to Effects and Presets.
- Search for the “Tint” effect, and drag and drop it onto the screen.
- Search for the “Find Edges” effect and apply it. This effect highlights logo parts and adds a stroke.
- Search for the “Curves” effect, and adjust the curves to enhance the look if desired.
Step 5: Creating Logo Blur
- Create a new composition and rename it to “Logo Blur.”
- Drag and drop the “Logo Edges” composition into it.
Step 6: Adding Blur and Unsharp Mask
- Create an adjustment layer (Layer > New > Adjustment Layer) and rename it to “Logo Blur.”
- Apply the “Fast Blur” effect to the adjustment layer, and set blurriness to 1.
- Apply the “Unsharp Mask” effect to the adjustment layer, and set the amount to 100.
Step 7: Creating Reflection Composition
- Create a new composition and rename it to “Reflection Logo.”
- Drag and drop the “Logo Blur” composition into it.
- Hide the layer by clicking the eyeball icon.
- Drag the “LOGO HERE” composition above the “Logo Blur” composition.
Step 8: Preparing Reflection Image
- Import the reflection image and increase its scale.
- Right-click the image, go to Transform, and select Flip Horizontal.
Step 9: Building Reflection Map
- Create a new composition and rename it to “Reflection Map 1.”
- Drag and drop the “Reflection Logo” composition into it.
- Duplicate the Reflection Logo layer and parent the duplicate to the original.
- Adjust the position of the parent layer by adding keyframes.
Step 10: Applying Effects to Reflection Map 1
- Drag the “Reflection Map 1” composition below the “LOGO HERE” composition.
- Go to track matte and choose alpha matte, selecting the Reflection Map composition.
Step 11: Adding CC Glass Effect
- Search for the “CC Glass” effect in Effects and Presets, and apply it.
- Under Surface settings, set bump map to “Logo Blur,” softness to 80, height to 100, and displacement to -500.
- Under Lights, set light type to point light, and light height to 100.
- Apply the “CC Blobbylize” effect with the blob layer set to “Logo Blur,” softness to 4, and cut away to 0.
Step 12: Second Reflection Composition (Reflection Map 2)
- Create a new composition and rename it to “Reflection Map 2.”
- Apply the “CC Glass” and “CC Blobbylize” effects as in Step 10, adjusting settings.
Step 13: Building Logo Build Composition
- Create a new composition and rename it to “Logo Build.”
- Drag and drop the “Reflection Logo” composition, and adjust blending modes and opacity.
Step 14: Final Composition Setup
- Create a new composition and rename it to “Main.”
- Drag and drop the “Logo Build” composition into the layers.
- Create another new composition and rename it to “Logo Matte.”
- Right-click to create a black solid layer, and apply the “Roughen Edges” effect with settings.
Step 15: Completion
Congratulations! You’ve completed your Professional Shiny Logo Animation in Adobe After Effects.
Project File Details:
| Updated | September 16, 2024 |
| Compatibility | After Effects CC |
| Required Plugin | No |
| Size | 2.8 MB |
| Price | Free |