Animate Text on a Path in Adobe After Effects
It’s free and I will continue to give out free downloads!
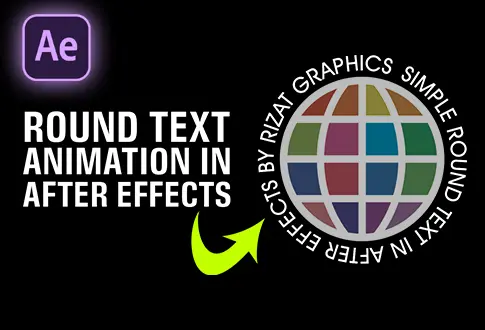
If you are trying to animate Text on a Path in Adobe After Effects, then you are at the right place. In this tutorial, I will show you to text on a path in Adobe After Effect. This is a very simple and easy tutorial, especially for beginners. You might also be interested in this tutorial on Round Text Animation in After Effects.
Step-by-Step Guide to Animate Text on a Path in After Effects:
Step 1: Launching Adobe After Effects and Creating a Composition
- Open Adobe After Effects.
- Head to the Composition menu and craft a new composition.
- Rename it to “Text on a Path” or choose a name you prefer.
- Set the resolution to 1920×1080 Pixels, frame rate to 30 frames per second, and duration to 10 seconds.
Step 2: Crafting Your Text and Path
- Pick the Horizontal Type tool.
- Input your desired text.
- Keep the Text Layer selected, then choose the Pen tool to create a path. This action generates a mask on our text layer.
Step 3: Mapping Text to the Path
- Navigate to text properties.
- Under the Text section, locate Path Options.
- Transform the path from “None” to “Mask 1” (the mask we created earlier).
Step 4: Animating the Path
- Ensure you’re at the first frame.
- Reduce the value of the first margin to negative numbers.
- Add a keyframe.
- Progress to approximately 4-5 frames ahead and alter the first value.
Step 5: Refining the Animation
- Press “U” on your keyboard to expose all keyframes.
- Select all keyframes, then right-click.
- Navigate to Keyframe Assistant and pick Easy Ease.
Step 6: Enhancing the Animation
- Choose the first two keyframes.
- Enter the graph editor.
- Slightly adjust the graph to achieve a smooth and appealing animation.
Congratulations! Your Text on a Path animation is now completed.
Project File Details:
| Updated | September 16, 2024 |
| Compatibility | After Effects CC |
| Required Plugin | No |
| Size | 71 KB |
| Price | Free |


