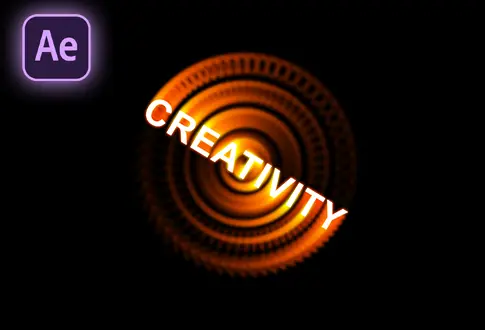
Fire Text Animation in Adobe After Effects
It’s free and I will continue to give out free downloads!
Create an amazing Fire Text Animation in Adobe After Effects. In this tutorial, you will learn to create an amazing Fire Text Animation in Adobe After Effects without using any paid plugins or expressions. After watching this tutorial, you will easily create your own Fire Text Animation. This is a fast and easy tutorial for beginners. For better results, I recommend you watch this tutorial till the end. You might also be interested in this tutorial on Smoke Text Animation in After Effects.
Step-by-Step Guide to Creating a Fire Text Animation:
Step 1: Create Composition and Add Text
- Open Adobe After Effects.
- Create a new composition named “Fire Text Animation.”
- Set the resolution to 1920×1080 pixels, frame rate to 30 frames per second, and duration to 10 seconds.
- Select the Type Tool from the toolbar.
- Click anywhere on the screen and type your text.
- Make the text bold, increase the font size, and convert it to all caps.
- Align your text to the center.
Step 2: Add Saber Effect
- Go to the Layer Menu > New and select “Solid.” Rename it to “Saber” or a preferred name.
- Go to the Effects & Presets panel.
- Search for the “Saber” effect and drag and drop it onto the Solid Layer.
Step 3: Configure Saber Settings
- Under the Saber layer settings, go to the “Customize Core” section.
- Change the core type to “Text layer.”
- Choose the Text layer you created earlier.
- Go to the “Presets” section and select the “Fire” preset.
- Adjust the following settings:
- Glow Intensity: 40%
- Glow Spread: 0.10
- Glow Bias: 0.35
- Core Size: 2 (adjust to your preference)
- Under the “Distortion” options, go to “Glow Distortion.”
- Change the Distortion Amount value to 85.
Step 4: Create Offset Animation
- Make sure you’re at the first frame on the timeline.
- Go to the Saber settings and click on the “End Offset” to add a keyframe.
- Change the End Offset value to 0%.
- Go about 3 seconds forward on the timeline.
- Change the End Offset value back to 100%.
Step 5: Modify Text (Optional)
- If you want to change the text, double-click on the Text layer.
- Type anything you’d like and align it to the center.
Your Fire Text Animation in Adobe After Effects is now complete! This simple and easy tutorial guides you through creating a fiery text effect using the Saber plugin. The offset animation adds dynamic movement to the fire effect. Feel free to customize the settings further or experiment with different text and color options.
Project File Details:
| Updated | September 16, 2024 |
| Compatibility | After Effects CC |
| Required Plugin | No |
| Size | 4.9 MB |
| Price | Free |