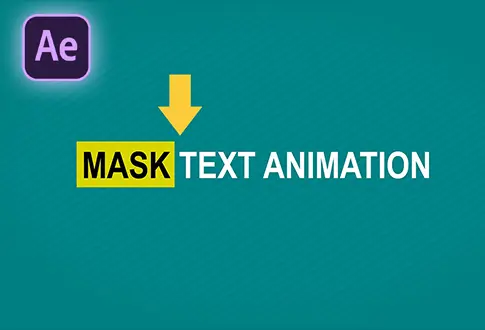
Smooth Sliding Text Reveal in After Effects
It’s free and I will continue to give out free downloads!
Smooth Sliding Text Reveal in After Effects
Sliding text animations add a smooth and professional touch to videos, making them visually appealing. In Adobe After Effects, you can create a sleek text slide-in effect using keyframes, position adjustments, and alpha matte masking. This effect is ideal for title animations, motion graphics, and lower thirds. By refining the motion with graph editor and easing, you achieve a natural transition. Enhancing the shape layer with Gaussian Blur ensures a polished look. Whether for YouTube intros, presentations, or social media videos, the sliding text effect provides a modern and engaging way to present information dynamically.
You might also like these tutorials on text animation.
Step-by-Step Guide to Creating a Smooth Sliding Text Reveal:
1. Create a New Composition
Open Adobe After Effects and create a New Composition. Name it Smooth Sliding Text Reveal. Set the resolution to 1920×1080, 30 FPS, and 5 seconds duration.
2. Add Text
Select the Type Tool from the toolbar, click on the screen, and type your desired text. Center the anchor point and align your text to the center.
3. Create a Shape Layer
Click on an empty space, go to the Toolbar, and select the Rectangle Tool. Choose any color and draw a shape covering the entire text. Align the shape layer to the center.
4. Animate the Text
Hide the shape layer temporarily and select the Text Layer. Open the Position Properties (Press P), move the time indicator to 1 second, and add a keyframe. Move the time indicator to the beginning, press V to select the Move Tool, and drag the text downward while holding Shift.
5. Smoothen the Animation
Select both keyframes, Right Click > Keyframe Assistant > Easy Ease. Open the Graph Editor, adjust the graph for a smoother animation, and exit the Graph Editor.
6. Apply Track Matte
Unhide the shape layer. Go to Track Matte and choose Alpha Matte. If you don’t see the Track Matte options, click Toggle Switches/Mode to reveal additional settings.
7. Adjust Timing
Preview the animation. To slow down the text reveal, drag the second keyframe to 2 seconds.
8. Enhance with Gaussian Blur
To refine the shape edges, apply the Gaussian Blur Effect to the shape layer from Effects & Presets. Adjust the Blur Intensity to achieve a smooth and professional look.
9. Final Adjustments
Move the time indicator to 3 seconds, add a keyframe, and adjust the text position at the last frame. Open the Graph Editor and tweak the curve for a seamless sliding effect.
10. Final Preview & Export
Preview the final animation. If satisfied, finalize your project.
11. Like & Subscribe
For more tutorials, don’t forget to like & subscribe!
Project File Details:
| Updated | January 30, 2025 |
| Compatibility | After Effects CC |
| Required Plugin | No |
| Size | 719 KB |
| Price | Free |