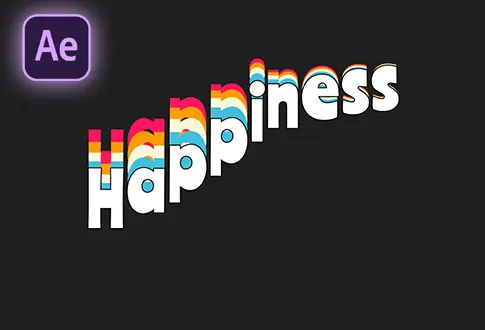
Mask Text Animation in Adobe After Effects
It’s free and I will continue to give out free downloads!
In this concise Adobe After Effects tutorial, we’ll walk you through the process of crafting a straightforward Text Animation using masks, all without the need for plugins or complex expressions. Whether you’re a beginner or looking to reinforce your basics, this tutorial is designed to provide you with fundamental insights into creating captivating animations. Join us as we explore the step-by-step approach to achieve a clean and effective Mask Text Animation. By the end of this tutorial, you’ll have acquired essential techniques that can be a valuable foundation for your future After Effects projects. Dive in and discover the simplicity and creativity behind crafting a compelling Text Animation without the fuss of additional plugins or intricate expressions. You might also be interested in this tutorial on Sliding Text Animation in After Effects.
Step-by-Step Guide to Creating a Mask Text Animation:
Step 1: Set Up Composition
- Open Adobe After Effects.
- Create a new composition named “Mask Text Animation.”
- Set the resolution to 1920×1080 pixels, frame rate to 30 frames per second, and duration to 10 seconds.
Step 2: Add Background Solid Layer
- Go to Layer > New > Solid.
- Rename the solid layer to “Background.”
Step 3: Add and Format Text
- Select the Text Tool from the Toolbar.
- Click anywhere on the screen and add your desired text.
- Align the text to the center.
Step 4: Create a Masked Line Shape
- Select the Pen Tool from the Toolbar.
- Set the Fill color to None and Stroke to a solid red color with 124 pixels.
- Draw a straight-line shape on the text.
- Under the Shape Layer, click the Add button and choose “Trim Paths.”
- Go to the Trim Paths options and add a keyframe on the End value, setting it to 0%.
- Go about 6 seconds forward on the timeline and change the End value to 100%.
Step 6: Apply Easy Ease to Keyframes
- Select the shape layer and press U to reveal all keyframes.
- Select both keyframes, right-click, and choose Keyframe Assistant > Easy Ease.
Step 7: Create a Masked Text Layer
- Duplicate the Text and Shape Layers.
For the First Duplicated Text Layer (Top Layer):
- Go to Track Matte and choose “Alpha Inverted Matte.”
For the Second Duplicated Text Layer (Bottom Layer):
- Go to Track Matte and choose “Alpha Matte.”
- Change the Text color to yellow or any desired color.
Step 8: Duplicate Shape Layer
- Duplicate the Shape Layer.
- Drag and drop it just above the Background layer.
- Unhide the duplicated Shape Layer.
Your Mask Text Animation in Adobe After Effects is now complete! This tutorial guides you through creating an engaging animation using masks, text layers, and track mattes. Customize the colors, timing, and other properties to achieve the desired visual effect.
Project File Details:
| Updated | September 16, 2024 |
| Compatibility | After Effects CC |
| Required Plugin | No |
| Size | 39 KB |
| Price | Free |