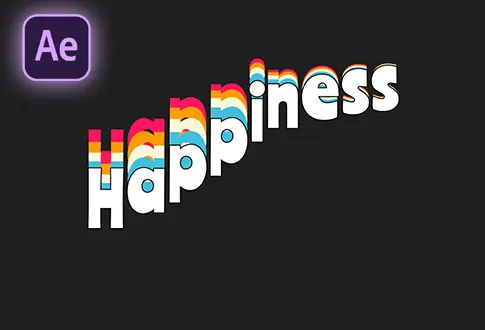
Easily Create Glitch Animation in Adobe After Effects
It’s free and I will continue to give out free downloads!
Create a Glitch Text Effect in Adobe After Effects without third-party plugins. In this tutorial, you will learn to create a glitch animation in Adobe After Effects without using any plugins or expressions. After watching this tutorial you will easily create your glitch animation in Efter Effects. This is a short and easy tutorial for beginners. You might also be interested in this tutorial on Energy Glitch Text Animation in After Effects.
Step-by-Step Guide to Creating Glitch Animation:
Step 1: Setting Up the Composition
- Open Adobe After Effects.
- Go to the Composition menu and create a new composition. Rename it to “Glitch Effect” or choose a name you prefer.
- Set the resolution to 1920×1080 Pixels, frame rate to 30 frames per second, and duration to 15 seconds.
Step 2: Adding Text
- Select the Type tool from the Toolbar and add your desired text.
- Align the text to the center.
Step 3: Pre-Composing the Text
- Right-click on the text layer and choose Pre-Compose.
- Rename the pre-composition to “Text” or “Logo.”
Step 4: Importing Glitch Footage
- Go to the File menu, then Import, and select the glitch footage.
Step 5: Creating Glitch Footage Composition
- Drag the glitch footage above the Text layer.
- Right-click on the footage layer and choose Pre-Compose.
- Rename the pre-composition and check the option to move all attributes into the new composition.
Step 6: Preparing for Glitch Effect
- Hide the glitch footage composition to reveal the text layer.
- Create a new adjustment layer (Layer > New > Adjustment Layer).
Step 7: Applying the Displacement Effect
- Go to Effects and Presets and search for the “Displacement Map” effect.
- Drag and drop the Displacement effect onto the Adjustment layer.
Step 8: Configuring Displacement Map
- Select the Adjustment Layer, and go to Settings.
- Choose “Screen Glitch-free Footage” as the Displacement Map Layer.
Step 9: Adjusting Displacement Values
- Change the Max Horizontal Displacement value to 30.
- Change the Max Vertical Displacement value to 25.
Step 10: Controlling Glitch Timing
- Double-click the “Screen Glitch Footage” composition.
- Create a new solid layer (white color) from Layer > New > Solid.
- Trim the solid layer to 1 second to hide the glitch footage at the beginning.
- Duplicate the solid layer 5 to 6 times and place them at different timings.
Step 11: Previewing the Animation
- Return to the main composition.
- Click RAM Preview to preview the glitch animation.
Making the Animation More Professional
Step 12: Adding RGB Channels Shift
- Select the Text Composition.
- Go to Effects and Presets and search for the “Shift Channels” effect.
- Drag and drop the effect onto the Text composition.
Step 13: Duplicating and Colorizing Text Layers
- Duplicate the text composition two times.
- Rename the duplicate layers: “R” for red, “G” for green, and “B” for blue.
- Solo the “R” layer and turn off the green and blue channels. The text will appear red.
Step 14: Adjusting Color Channels
- Solo the “G” layer and turn off the red and blue channels.
- Solo the “B” layer and turn off the red and green channels.
Step 15: Blending RGB Layers
- Select all RGB layers.
- Change the Blending Mode from normal to the screen.
- Slightly move the RGB layers to create a glitchy effect.
Step 16: Applying the Final Glitch Effect
- Go to Effects and Presets and search for the “Bad TV 1 – Warp” effect.
- Drag and drop the effect onto the Adjustment Layer.
Step 17: Completion
Congratulations! You’ve successfully created a professional glitch animation in Adobe After Effects.
Project File Details:
| Updated | August 13, 2023 |
| Compatibility | After Effects CC |
| Required Plugin | No |
| Size | 5.04 MB |
| Price | Free |
